Author Archives: Jonathon Streetman

Poll Configuration Tutorial for Zoom

To enable polling for Zoom you must first schedule a Zoom meeting.

To schedule a meeting, visit uga.Zoom.us and choose the third option, Sign In (Configure your account).

After you are signed in you will be greeted with your Profile page. Within your profile page you can control advanced features for Zoom such as enabling polls, allowing co-hosts, and other options.

Zoom Profile Settings

Click on Settings to enable polls.

Polling within Settings

Scroll down until you locate polling.

Zoom Profile Page

Return to your Account Profile Page or Click on Meetings.

Click on Schedule A New Meeting.

Configure your meeting and click Save.

Scroll to the bottom of the next page and then click Add to configure your poll.

From that point on you should be able to successfully create a poll to be used in your Zoom meeting. If you have any issues please reach out to gradyhlp@listserv.uga.edu with questions.

Thank you,

-Jonathon

Click the Start Menu in the bottom left corner and begin typing “Control Panel” (1.). When the Control Panel icon appears click on it to open (2.).

When the Control Panel window appears, click on “Devices and Printers”.


When the Devices and Printers window appears you will click on “Add Printer” (1.). A new window will appear and scan network printers, scroll down the long list to the bottom and select “The Printer that I want isn’t listed” (2.)


In the newly opened Add Printer window you select “Select a shared printer by name” and type in “\\masscommprint\” and a list of shared network printers will appear. Select the printer you want to add to your computer. The printer will now install the drivers and be available for use, just click continue or okay on the prompts that follow.


The Sharp printer is 205supply.grady.uga.edu.


-Jonathon Streetman


Off Campus Access to Shared Drives

You can access your shared drives from off campus by connecting to the VPN.

The following address will ask you to login with your MYID credentials, and then will attempt to automatically install the Cisco AnyConnect VPN onto your Mac or PC. If that fails, you can download and manually install the VPN via the following link:

https://eits.uga.edu/access_and_security/infosec/tools/vpn/#others

The ArchPass VPN now requires 2 factor authentication by enrollment in ArchPass Duo. To enroll, follow the link below and register.

https://eits.uga.edu/access_and_security/infosec/tools/archpass_duo//archpass_duo_enrollment/


After you are connected via the VPN, you may then access the shared drive by two methods, depending on which operating system you are using.


MacOS:

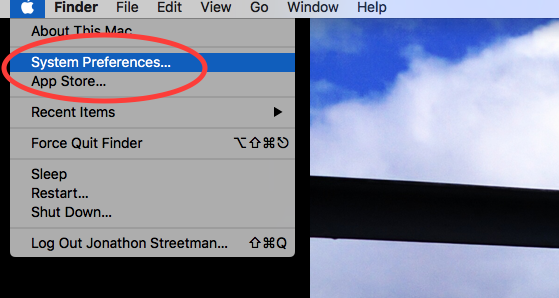
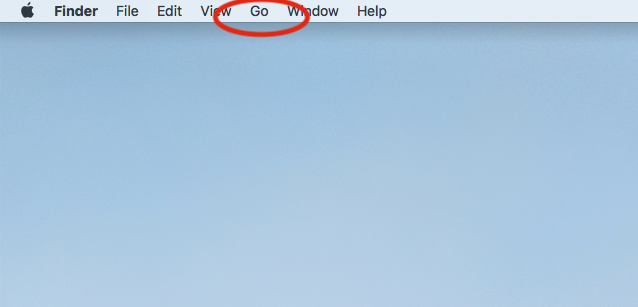
Click “Go” in the top Menu Bar.

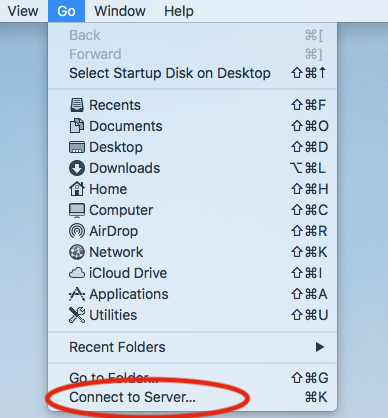
Select “Connect To Server…” at the bottom.

Type in the address of the shared drive you are accessing. You should already have the information if you are using a Mac, and for Windows users it is always the name the drive appears on your File Explorer window.

The address will always begin with smb://gradynas.grady.uga.edu/*

The last portion can be adpr, journalism, EMST, etc.

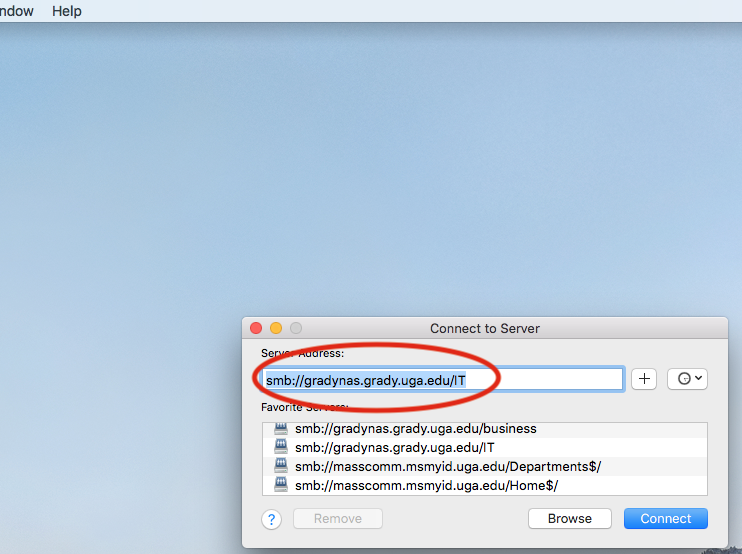
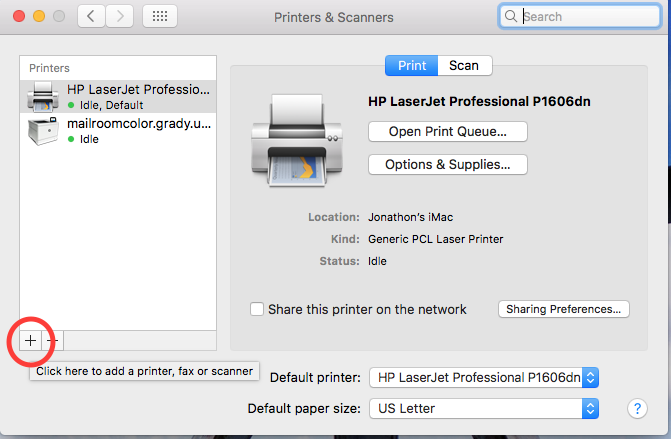
To save the address to your Mac, you can click the + sign and it will be logged as a favorite. After the address is added, you can then click connect.

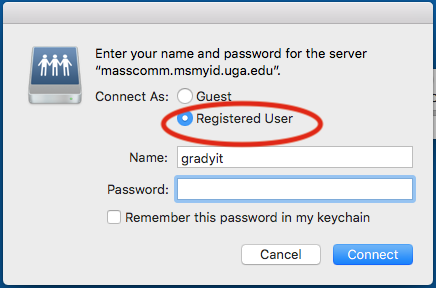
You will then be asked to provide your credentials for connecting. Make sure Registered User is selected and type in your MYID for name, without the @uga.edu portion. The drive will then be mounted.
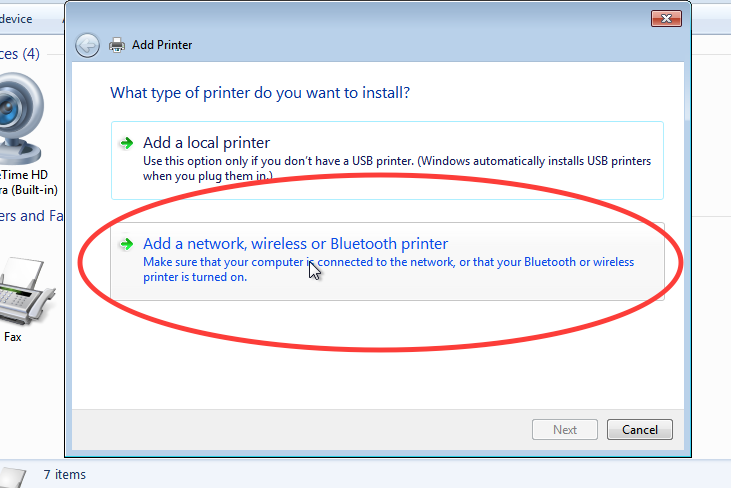
 

Windows:

Connect to the ArchPass Duo VPN as mentioned above.

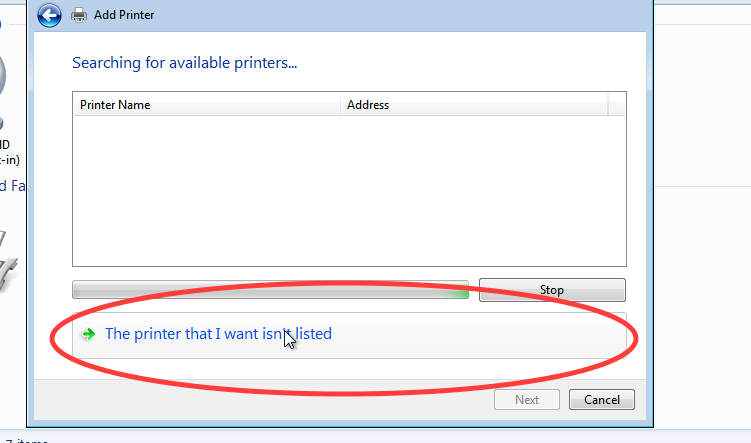
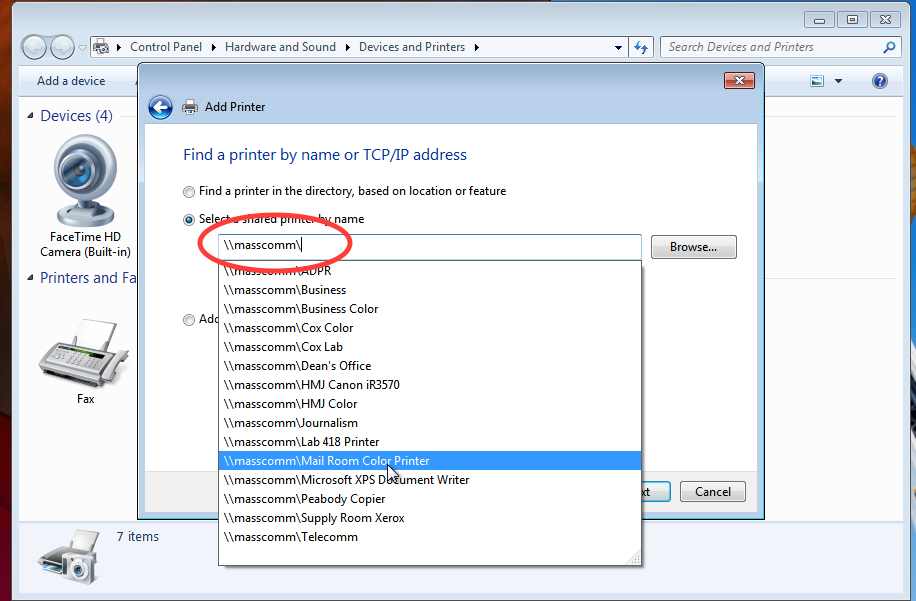
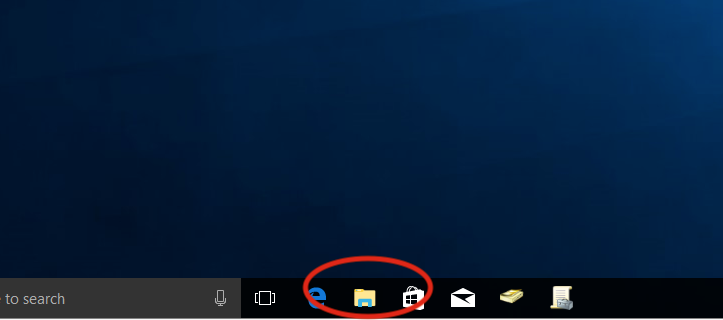
After you are connected, Open File Explorer and type the Shared Drive’s address into the address bar.

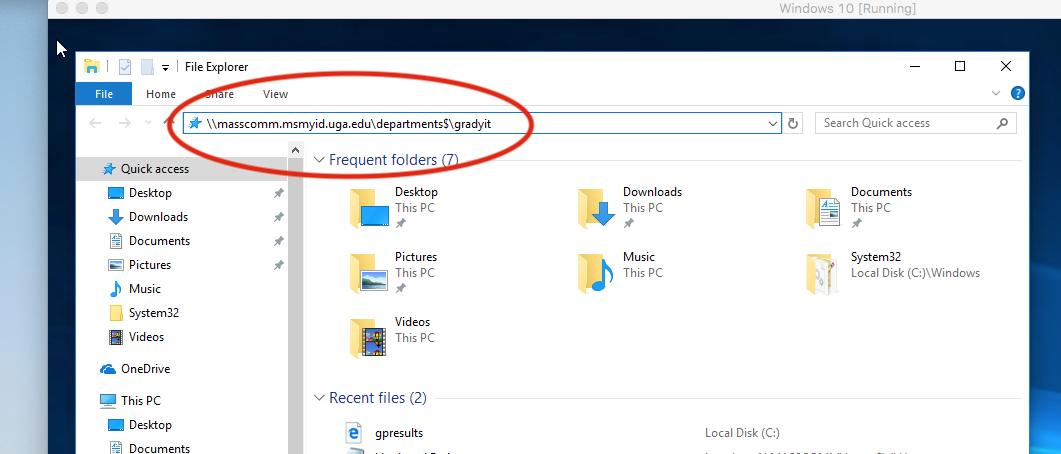
*Replace the masscomm.msmyid.uga.edu portion of the above screenshot with gradynas.grady.uga.edu*

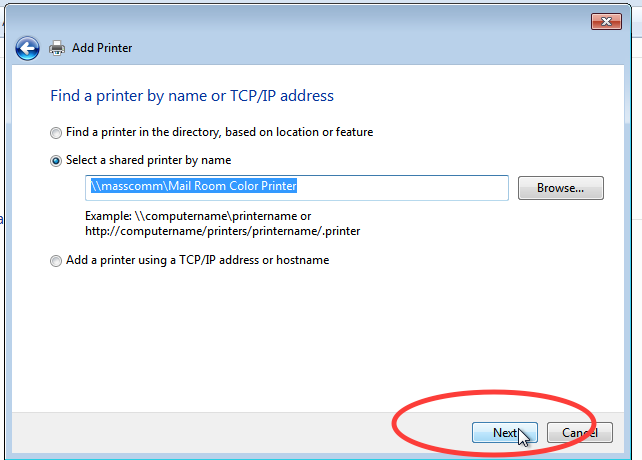
After adding the address to file explorer and hitting the enter key you will then need to authenticate. For authentication you will use your MYID in this format for the username field:

MYID\*yourMYID*

If you need help with what address to use, please do not hesitate to contact us at gradyhlp@listserv.uga.edu and we will be glad to assist.

-Jonathon


‘User Profile Cannot Be Loaded’ Fix

To fix the user account profile, follow these steps:

Important This section, method, or task contains steps that tell you how to modify the registry. However, serious problems might occur if you modify the registry incorrectly. Therefore, make sure that you follow these steps carefully. For added protection, back up the registry before you modify it. Then, you can restore the registry if a problem occurs. For more information about how to back up and restore the registry, click the following article number to view the article in the Microsoft Knowledge Base:

322756 How to back up and restore the registry in Windows How to back up and restore the registry in Windows
  1. Click Start, type regedit in the Search box, and then press ENTER.
  2. In Registry Editor, locate and then click the following registry subkey:
    HKEY_LOCAL_MACHINE\SOFTWARE\Microsoft\Windows NT\CurrentVersion\ProfileList
  3. In the navigation pane, locate the folder that begins with S-1-5 (SID key) followed by a long number.
  4. Click each S-1-5 folder, locate the ProfileImagePath entry in the details pane, and then double-click to make sure that this is the user account profile that has the error.

    • If you have two folders starting with S-1-5 followed by some long numbers and one of them ended with .bak, you have to rename the .bak folder. To do this, follow these steps:
      1. Right-click the folder without .bak, and then click Rename. Type .ba, and then press ENTER.
      2. Right-click the folder that is named .bak, and then click Rename. Remove .bak at the end of the folder name, and then press ENTER.
      3. Right-click the folder that is named .ba, and then click Rename. Change the .ba to .bak at the end of the folder name, and then press ENTER.
    • If you have only one folder starting with S-1-5 that is followed by long numbers and ends with .bak. Right-click the folder, and then click Rename. Remove .bak at the end of the folder name, and then press ENTER.
  5. Click the folder without .bak in the details pane, double-click RefCount, type 0, and then click OK.
  6. Click the folder without .bak, in the details pane, double-click State, type 0, and then click OK.
  7. Close Registry Editor.
  8. Restart the computer.
  9. Log on again with your account.

Tutorial on Adding a Networked Printer

Click Start -> Devices and Printers

Click on Add Printer

Click on Add a network, wireless, or Bluetooth printer…

Click on The Printer that I want isn’t listed…

In the box seen above, type \\masscomm\ and you will see a list of the available printers populated.

Select the printer you would like to add and click Next.

Follow through the following steps of adding the printer driver and be sure to uncheck “Make this printer my default printer”. After doing this the printer will be added to your computer.


-=MacOS Instructions-=


Select the Apple Logo in the top left of your OS and click on System Preferences…

In the System Preferences window that opens, select Printers & Scanners.


In the Printers & Scanners window that opens, click on the “+” sign in the bottom left to add a new printer.

To add a local printer connected via USB (in your office) then you will need to scroll down until you see a printer with your model number listed with the kind of “USB Multifunction”.


To add a network printer you will need to click the “IP” tab and type in the DNS name of the printer you want to add. The image below has the address the the mail room color printer.


After the Use: are is populated you just need to click Add and you will then have a USB or network printer added to your Mac.